
Shopify vs WordPress: Which Is the Best Platform for Your Online Store in 2025?
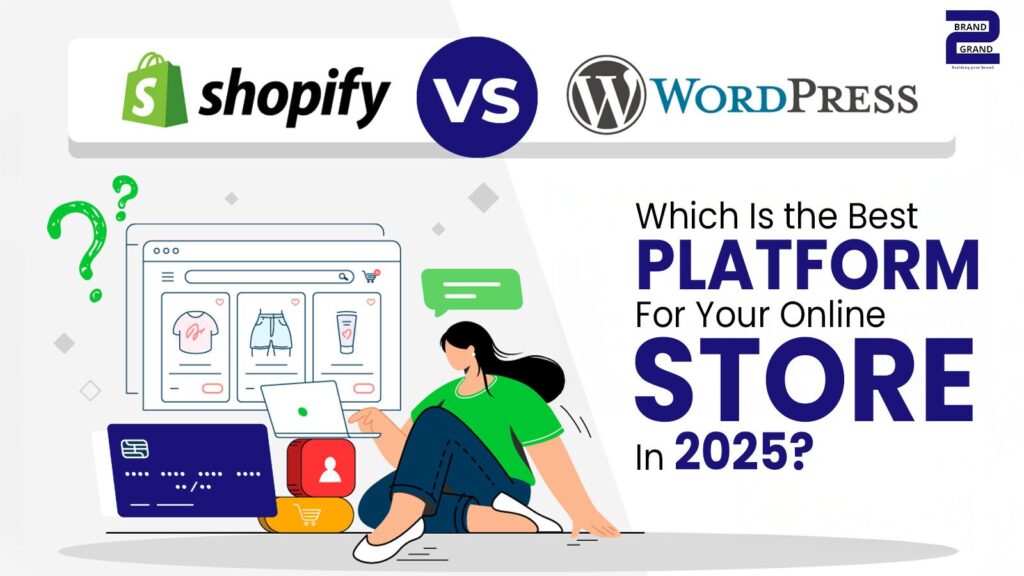
Starting an online store in 2025 requires choosing the right eCommerce platform—one that supports growth, offers flexibility, and delivers an excellent user experience. Among the most popular platforms, Shopify and WordPress (with WooCommerce) stand out as the top choices. Both offer powerful features, but they differ in usability, customization, pricing, and long-term scalability. If you […]
WordPress vs. Shopify: Which is the Best Fit for Your Business Website?
In today’s digital-first world, having a strong online presence is crucial for any business. Whether you’re starting a new e-commerce store or expanding your brand online, choosing the right platform is a game-changer. Two of the most popular options are WordPress and Shopify, but which one is the best fit for your business? Let’s break […]
7 Key Considerations When Choosing a Website Development Company
In today’s digital age, a website is more than just an online presence—it’s a powerful tool that can drive sales, establish brand credibility, and connect with customers globally. Choosing the right website development company is a crucial step toward building a website that meets these goals. Here are seven key considerations to help you make […]
9 Best WordPress Audio Player Plugins for Your Website
As of my last knowledge update in January 2022, there are several WordPress audio player plugins available that can enhance the functionality of your website when it comes to managing and displaying audio content. Here are nine popular WordPress audio player plugins: 1. AudioIgniter:- – Features: – Responsive design. – Multiple audio formats support. – […]
Why Use WordPress for Small Business Websites ?
WordPress is fundamentally the most straightforward and well-liked way to start your website or blog. In actuality, WordPress is used by more than 43.3% of websites on the Internet. Yes, WordPress is probably used by more than a quarter of the websites you visit. A little more technically speaking, WordPress is an open-source content management system that is GPLv2 licensed, […]
How to Build a WordPress Website for Free
Creating your first website might feel a little daunting, especially if you’re not a tech-savvy person. Well, you’re not alone, so don’t worry about that! Here we have made the most detailed step-by-step tutorial on how to build a WordPress website from scratch without knowing how to code. We genuinely believe that this tutorial will be highly […]
How to Create Multilingual Website in WordPress to Expand Your Business
Are you thinking of building a multilingual site to extend your business all over the world? If so, then you have come to the right place to get a proper guide regarding creating a multilingual site in WordPress. English is the most used language in the world. That’s why website owners mainly use English on […]
How to Remove Sidebar in WordPress with 4 Easy Methods
A sidebar is an information bar that gains the maximum attention of the visitors. Besides, it is widely used to unlock business opportunities. However, it is not appropriate to use for all the websites and web pages. Therefore, having knowledge about how to remove sidebar in WordPress is important. The good thing is removing the […]
How to Set Up WordPress Staging Site – 2 Simple Ways

What to update your WordPress site, plugins, or themes? But couldn’t, since new updates can break down your site? If yes, then you shouldn’t be afraid anymore. Because now you can resolve this problem by setting up a WordPress staging site. A WordPress staging website will create a private environment where you can make any […]
WordPress Development For Grow your Business Fast
WordPress Development is an incredibly valuable platform, largely because of the amazing accessibility it provides to a wide range of potential bloggers. Its ease of use is truly remarkable, but that is not to say that some amount of education is unnecessary before putting it to work. Use the information below to get a good […]